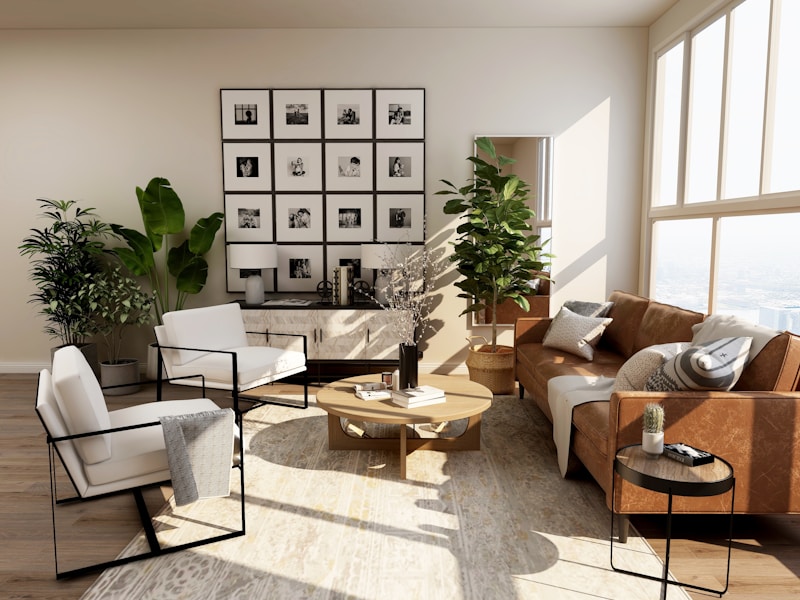
Mood boards are one of the most powerful tools in an architect's presentation arsenal. They bridge the gap between abstract concepts and tangible vision, helping clients feel confident about the design direction before significant resources are invested in detailed drawings.
In this guide, we'll share the proven techniques our team uses to create mood boards that consistently win client approval and accelerate the design process.
What Makes an Effective Mood Board?
An effective mood board does more than just look pretty—it tells a story. It captures:
- Atmosphere: The feeling and emotional response the space should evoke
- Material Palette: Textures, finishes, and material combinations
- Color Direction: Dominant, secondary, and accent colors
- Style References: Architectural precedents and design influences
- Functional Cues: How spaces will be used and experienced
7 Steps to Creating Winning Mood Boards
1. Start with Client Discovery
Before collecting a single image, understand your client's preferences:
- What adjectives describe their ideal space? (Cozy? Minimal? Luxurious? Industrial?)
- What are their lifestyle needs and daily routines?
- What inspires them? (Nature, art, travel, fashion?)
- What are their absolute must-haves and deal-breakers?
2. Gather Diverse Inspiration
Cast a wide net when collecting inspiration:
- Architecture and interior design magazines
- Pinterest and Instagram collections
- Material samples and fabric swatches
- Nature photography for organic inspiration
- Fashion and product design for color and texture ideas
3. Edit Ruthlessly
Quality over quantity. Select images that:
- Directly support your design narrative
- Show a clear relationship to the project context
- Demonstrate materials and finishes realistically
- Create visual harmony when placed together
4. Organize with Intent
Structure your board to guide the viewer's eye:
- Place hero images that capture the overall vision
- Group related materials and colors together
- Use hierarchy to show primary vs. secondary elements
- Leave breathing room—don't overcrowd the board
5. Add Context with Annotations
Brief text labels help clients understand what they're seeing:
- Material names and specifications
- Color codes or paint references
- Notes about specific design intentions
- References to how elements will be used in the project
6. Present with Confidence
Your presentation matters as much as the board itself:
- Walk clients through the board systematically
- Explain the "why" behind each selection
- Show how the mood translates to their specific project
- Be prepared for questions and feedback
7. Iterate Based on Feedback
Use the mood board as a conversation starter:
- Document what clients love and what concerns them
- Create alternative boards showing different directions
- Refine the palette based on their reactions
- Use approved boards as reference throughout the project
Digital vs. Physical Mood Boards
Both formats have their place in modern practice:
- Digital boards are easy to share, edit, and present remotely. Tools like Canva, InVision, and even PowerPoint work well.
- Physical boards create a more tactile, memorable experience. Material samples can be touched and felt.
We often use both: digital for initial presentations and quick iterations, physical for final approvals and construction reference.
Need Help with Your Design Presentations?
Our team specializes in creating compelling visual presentations that win client approval. Let's discuss your project.
Start Your Project